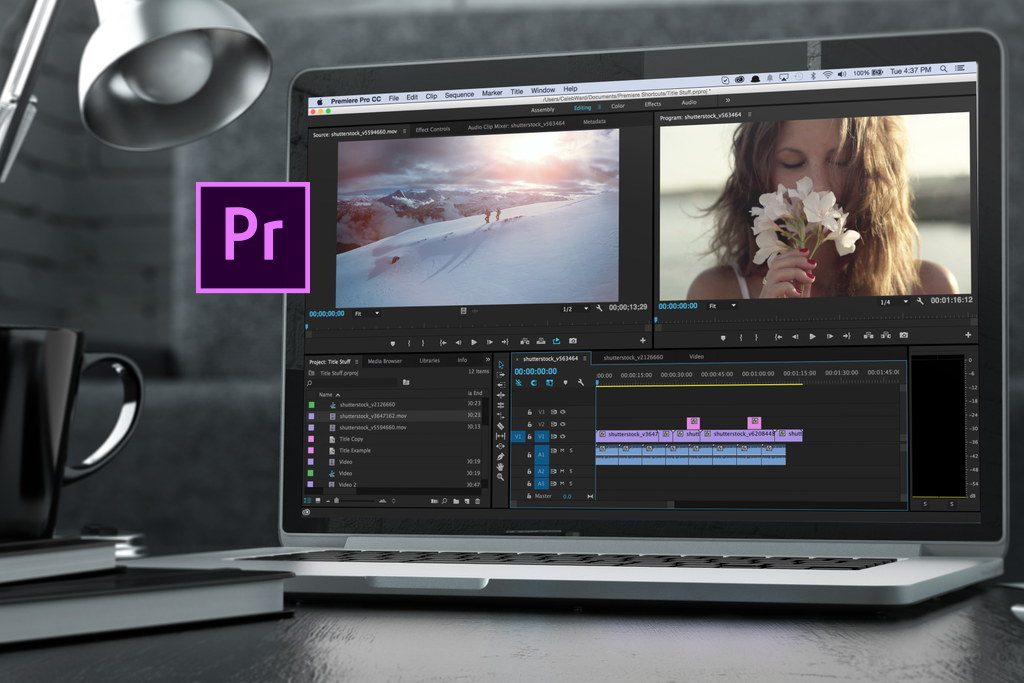
Whether you want to propel viewers down a speeding ramp or incorporate a dramatic car crash into your video, these five easy-to-use effects can help you create amazingly professional results for your web site, social media, YouTube channel or another project quickly.
Effect One: The Effect of Speed by Motion Array
Speeding up parts of your video or incorporating slow-motion shots can have a cool effect on any video project, but how can you do that without fancy equipment and advanced planning? Enter Premiere Pro Effects. This tool helps you create manufactured slow-motion effects as well as speed ramping during the editing phase of a video project. It’s easy to get professional results with simple clicks, drags and drops.
Effect Two: The Car Crash by Cinecom
Car crash scenes are common in a myriad of videos, movies or other dramatic productions so understanding how to create them in Premiere Pro can give you a huge leg up. This tool allows you to blend two shots, filmed from a tripod, into one smooth video. Simply incorporate the footage of a person crossing the road with the car speeding by. Premiere Pro’s easy-to-use pen, mask, and animation tools give you a professional car crash scene in a matter of clicks.
Effect Three: The Vertigo Effect by Tutvid
Gone are the days of requiring a dolly and a camera to create a zoom or vertigo effect. Now, with the help of Adobe Premiere Pro, you can quickly and easily manufacture the same experience post-production. Use the speed duration, transform, and keyframe tools as well as a zooming tool to fake a dolly zoom during the editing phase of your project. You can customize the time, length and focal point of the zoom, placing the control in your creative hands.
Effect Four: The Zack King Cut Effect by Cinecom
This effect, where a T-shirt is thrown across the room to an individual who “catches” the shirt on his body, is called the Zack King cut. It’s pretty cool and easy to replicate with Premiere Pro. Once you film your shots with a tripod, simply use Adobe Premiere Pro to cut out everything in between and coordinate the movements of your actor. Simply place an easy-to-use preset layer on top of your adjustment layer in your video, and marvel at the fun result.
Effect Five: The Luma Fade by Peter McKinnon
There are incredible effects you can do with fading from one scene to another, and one of the easiest, most spectacular effects is the Luma fade. In Premiere Pro, you can take two clips of your choice, adjust speed duration and use various tools such as the gradient wipe to create the Luma fade. Unleash your creativity to incorporate stylized effects using these basic tools as your guide. Are your creative juices flowing and the excitement building? Just apply one or more of these Adobe Premiere Pro effects tips. It’s never been easier to create professional, modern, head-turning videos as it is today.
